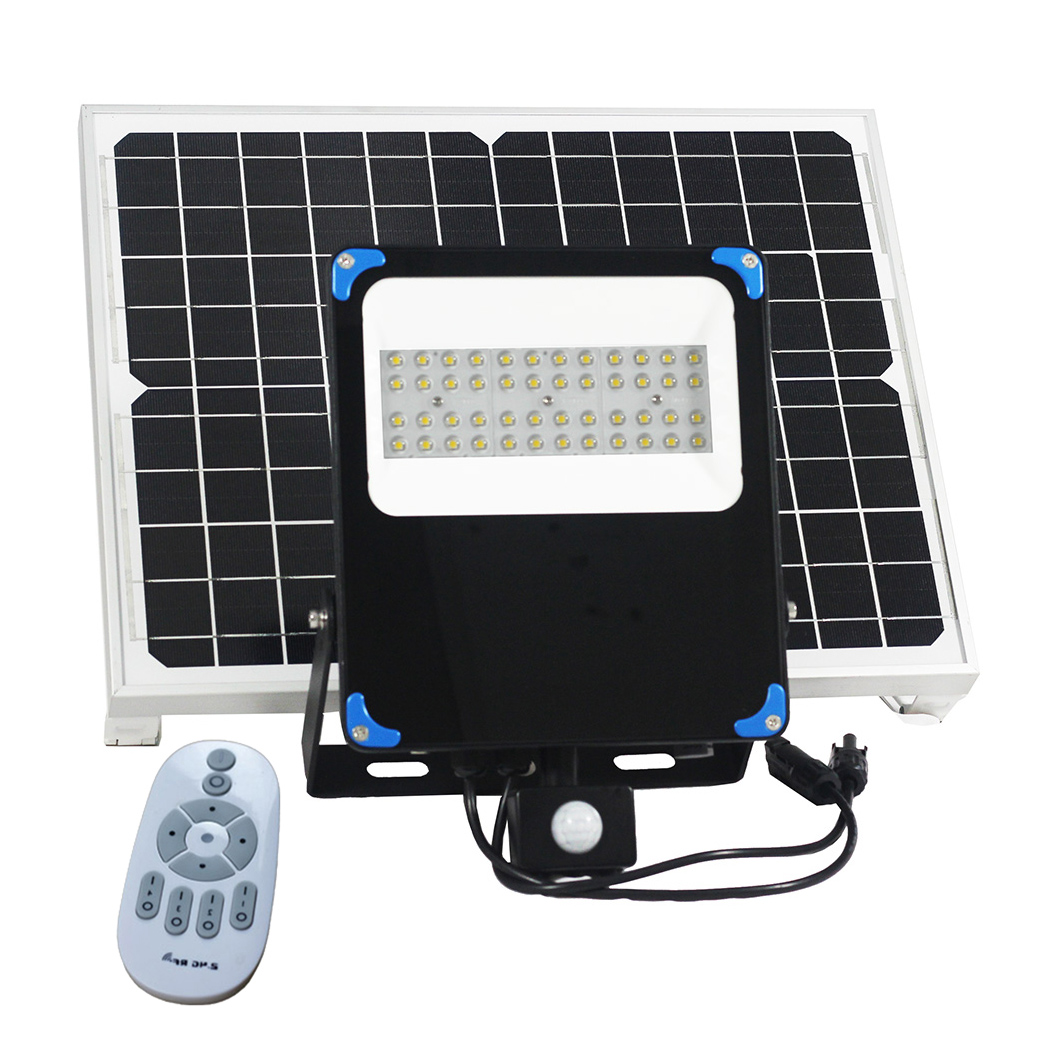
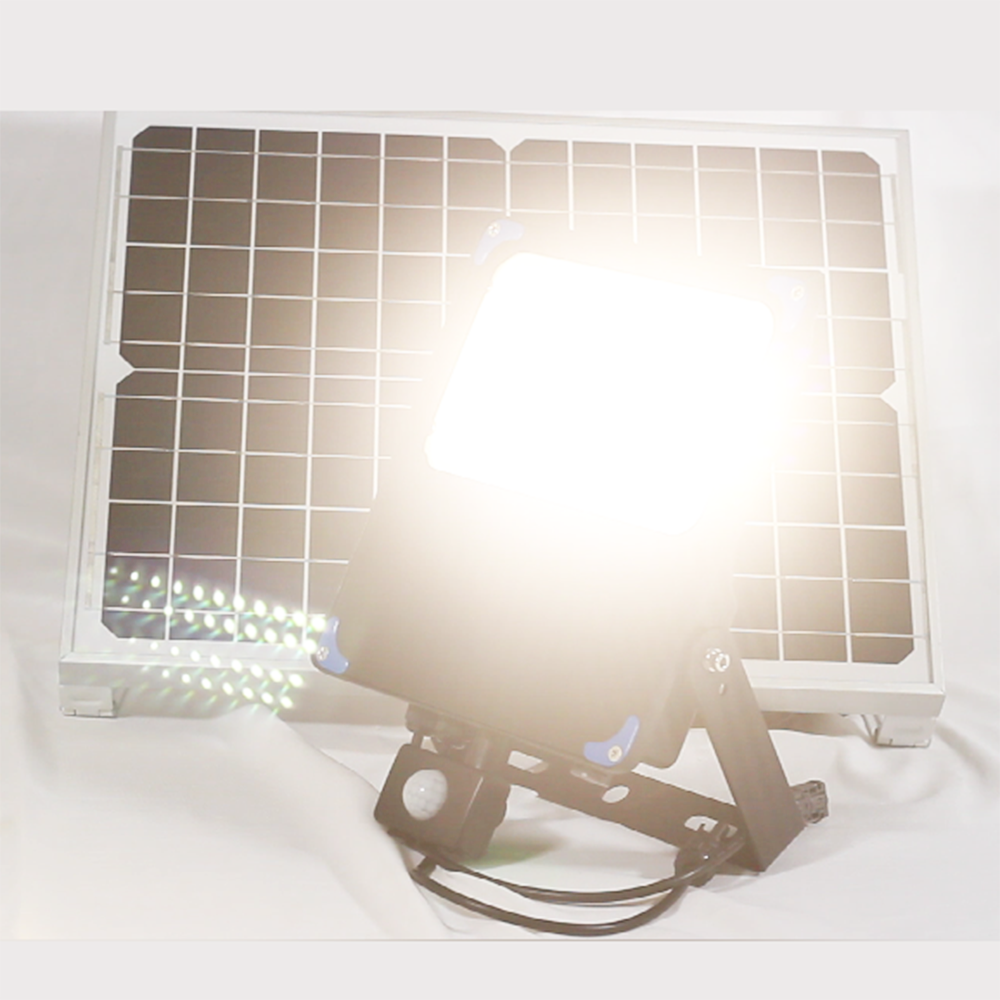
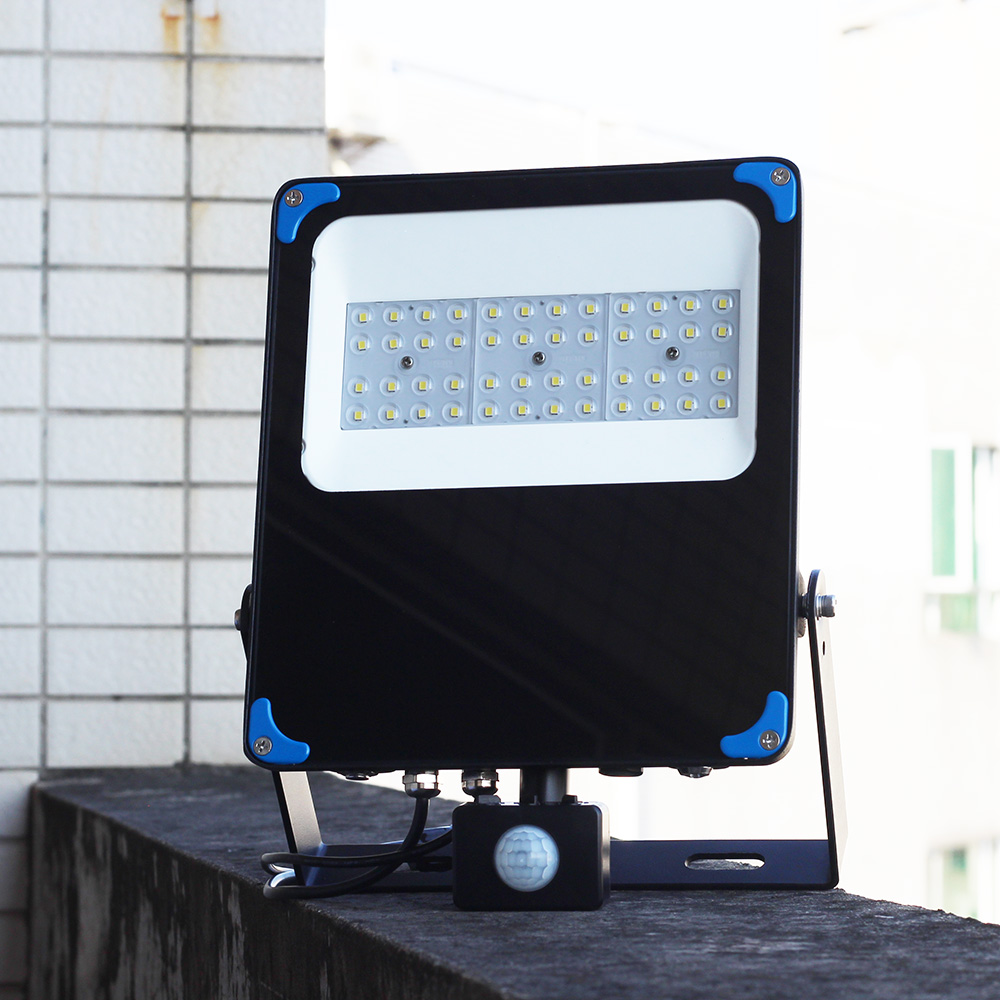
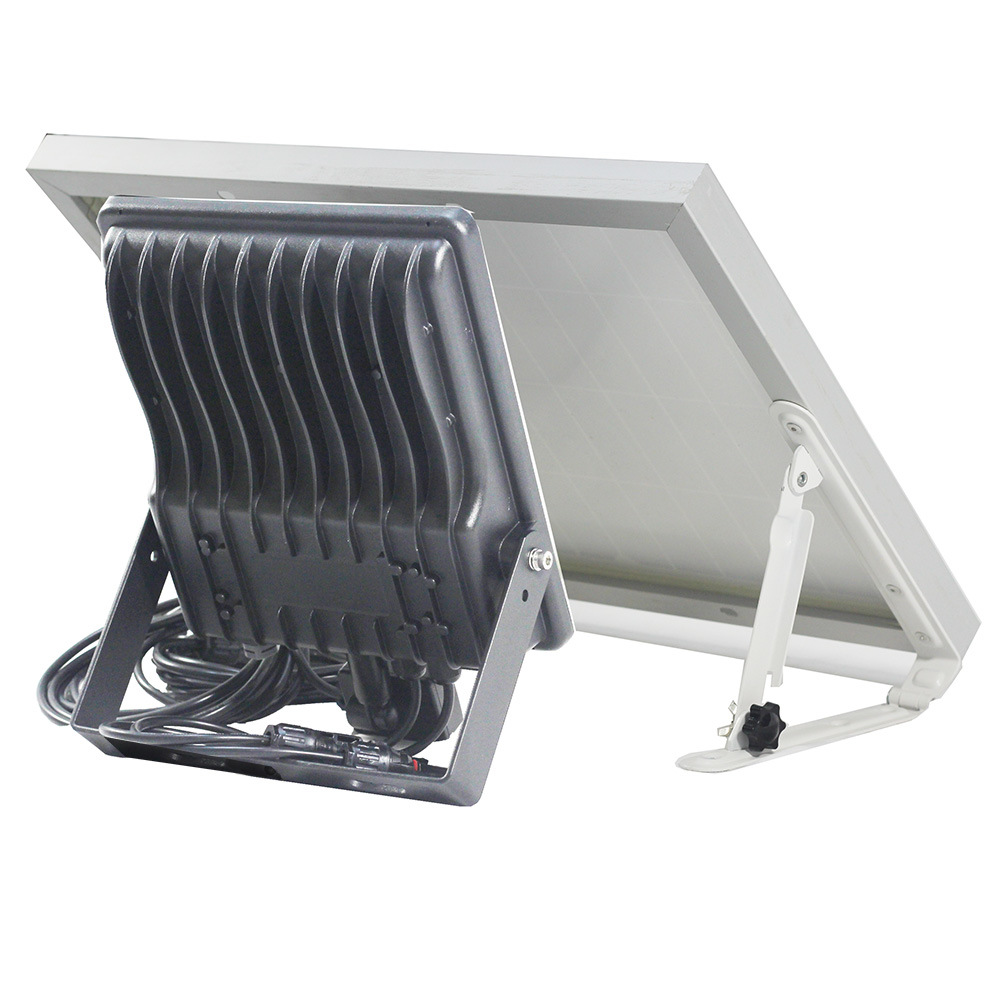
Solar Flood Light with Motion Detected Sensor and 2.4 GHz Remote Control for Outdoor lighting
-
Detail
Basic Info.
Model NO.HL-BI30P24G-8-SOLamp Body MaterialAluminum AlloyLight TypeSolarColor Temperature6000K/4000K/3000K (Option)Power≥30WTechnicsPainted MatteIllumination Time8hCell TypeLithium BatteryCharging Time (H)6UsageGarden, Street, Indoor, Parking LotIP RatingIP65CertificationCE, RoHSVoltage30VWith Light SourceWith Light SourceSolar Panel Power18V30WSolar Panel Size650X345X25mmSolar Panel Efficiency22%LED Light Power30WLED Chips45PCS 3030SMDLight Luminous Efficiency175lm/WLuminous Flux3785lmWork ModeRun AutomaticallyLi-ion Battery12.6V11ahBattery Power138.6whBeam Angle120X140 DegreeRunning Time>12 HoursRendering Index>75Transport PackageCartons and Pearl Cotton or PalletSpecificationLight Size 282x204x52 mmTrademarkGoginsor or OEMOriginChinaHS Code9405410000Production Capacity50000PCS/Year
Product Description
Charging Indicator LightLED Indicator to show current battery level and charging status.
· Green LED – 70% - 100% Charged
· Yellow LED – 30% – 70% Charged
· Red LED – 30% Charge or Less
· Flashing LED of any color – Battery Charging
Please Note:
The indicator will flash when charging, and when fully charged, it will display green.
On/Off Switch - Will turn the Batten Light On and Off Manually. When using the remote control and the PIR Module, it must always be on.Remote control instructions:
Syncing the Remote Control to the Solar Light
Syncing the Remote Control to the Solar Batten Light - Find one end of the batten light, which is a control panel with a switch, and the indicator light should not be visible.
- Keep holding the MASTER ON button ("I" is ON "O" is OFF),and push the power button on the light head, continue to hold the MASTER ON button.
- The solar light head will light and flash gently three times indicating the program has been accepted
- Release the MASTER ON button.
- The light is now is standard mode and can now be turned ON/OFF with the MASTER "I" and "O" at the top of the remote and dimmed using the dimmer buttons.
- Now select a work mode from the below

Work Modes
The Solar Batten Light has 8 pre-programed work modes.
Note:Mode Key Mode Name Running Mode 1 I Mode 1 Light on 30% from dark to dawn. 2 I Mode 2 Light on 50% for 8hrs, and then Light off. 3 I Mode 3 Light on 80% for 4hrs, and then Light off. 4 I Mode 4 Light on 100% for 2hrs, and then Light off. 1O Radar Sensor Mode1 Light on 100% for 3hrs, then to 0% until motion is detected, where the light will operate at 50%. 2O Radar Sensor Mode 2 Light on 100% for 3hrs, then to 5%, until motion is detected, where the light will operate at 50%. 3O Radar Sensor Mode 3 Light will not turn on unless motion is detected, where the light will operate at 100%. 4O Mode RF returns remote to normal mode (as per left image)
1. Once a program mode is selected the Batten light cannot be turned ON/OFF or dimmed with
the Master button. Choose button '4O' (RF Mode) to revert to standard mode to control these
functions.
2. In this version, the remote control cannot control groups separately, and even if the remote
control mode (4O)is selected, it can only control all lights together.Establish a local area network
All lights installed at 50-100 meters will form a local area network. Each light is equivalent to a signal repeater in the network,
so it can propagate the commands issued by the remote control one after another.
When the 4O standard mode is selected, it will be able to control all lights synchronized with this remote control.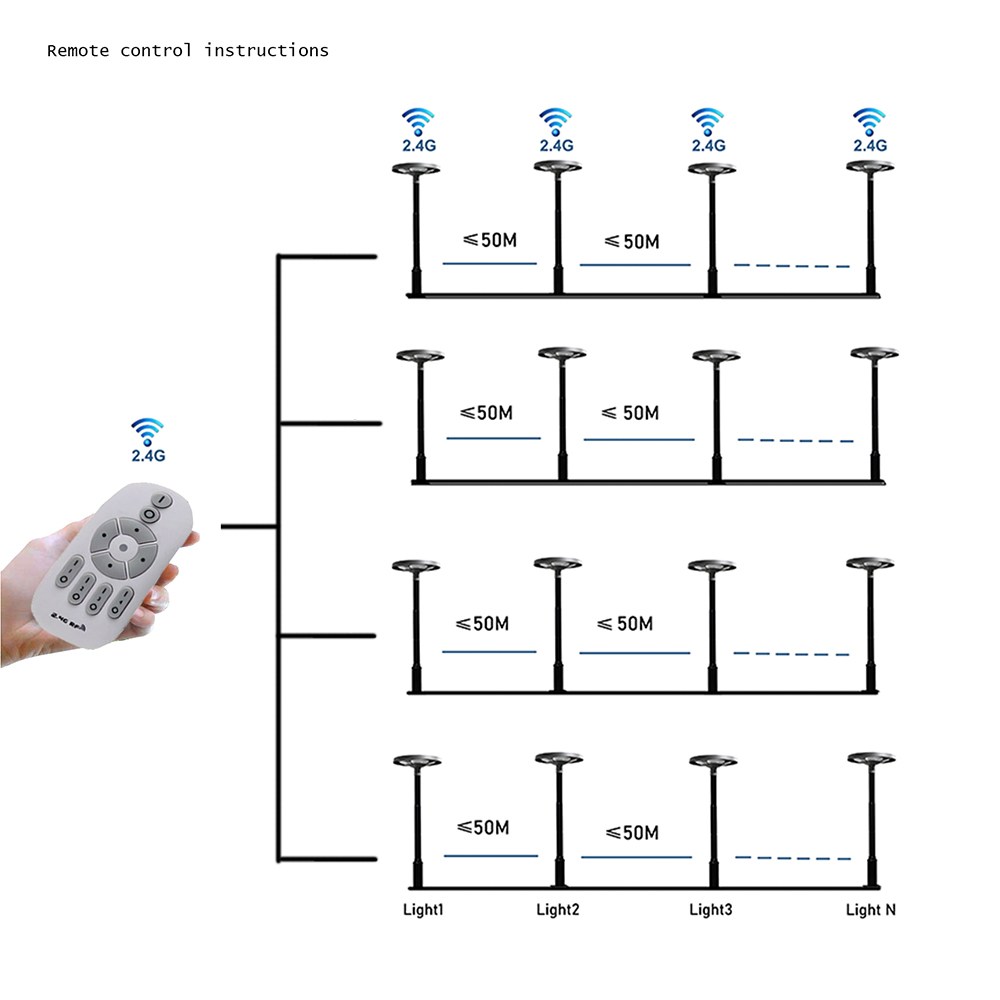
Programme Clear
If you want to clear the programming of the remote control and lights to restore the factory settings. Please do the following.
1. Turn on the light
2. Quickly press Master " I " key 5 times
3. LED lights will blink 5 times which means that the Programme is cleared successfully.
Adjust the PIR Sensor Delay Timer
LUX Dial: Adjusts the level of darkness at Dusk that must be reached before the light turns on. TIME Dial: Adjust delay time from 5 seconds to 5 minutes.
SENS Dial: Adjust the sensitivity from min. to max. (about 0-12 meters).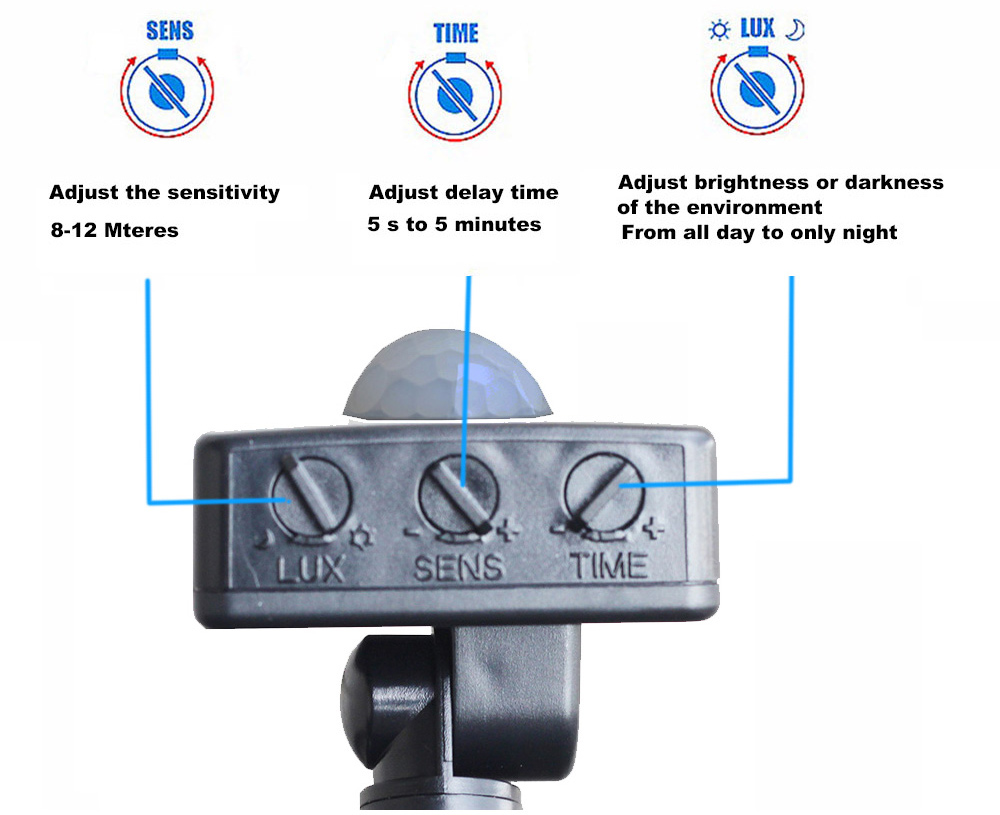
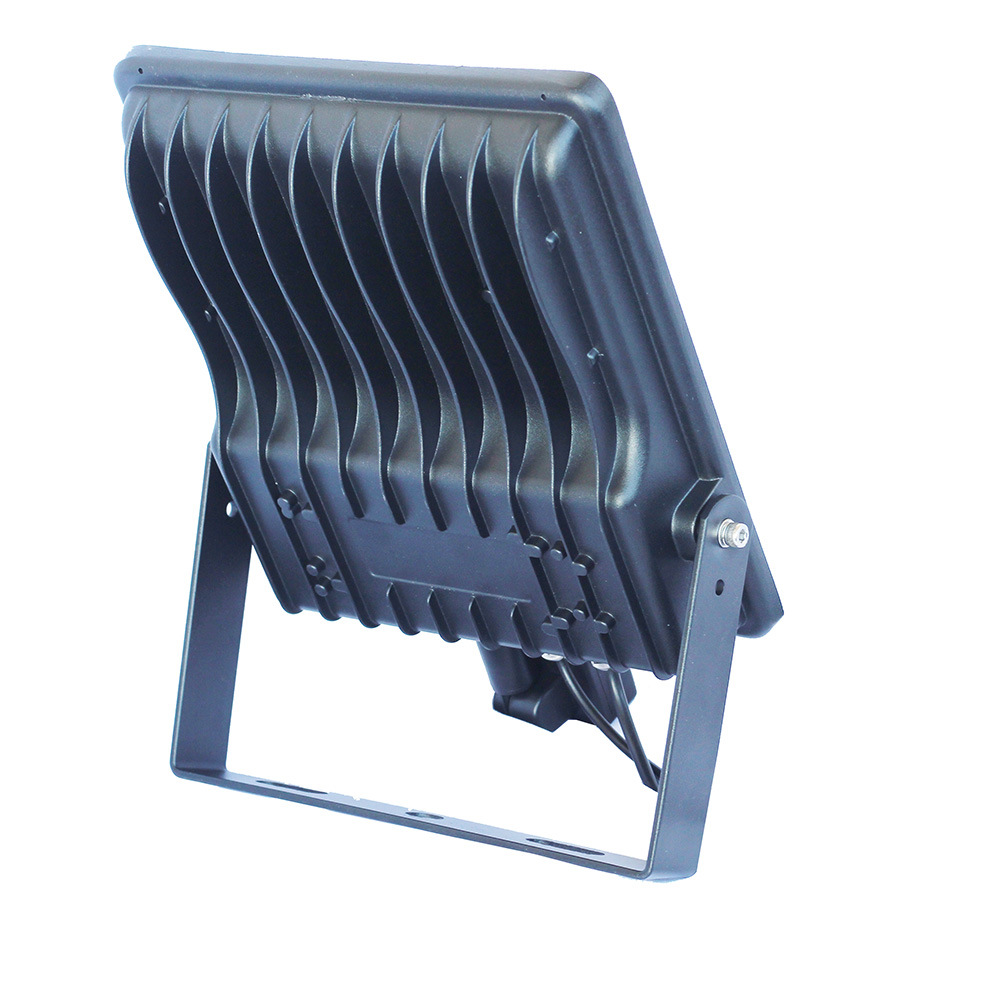
Product Detail: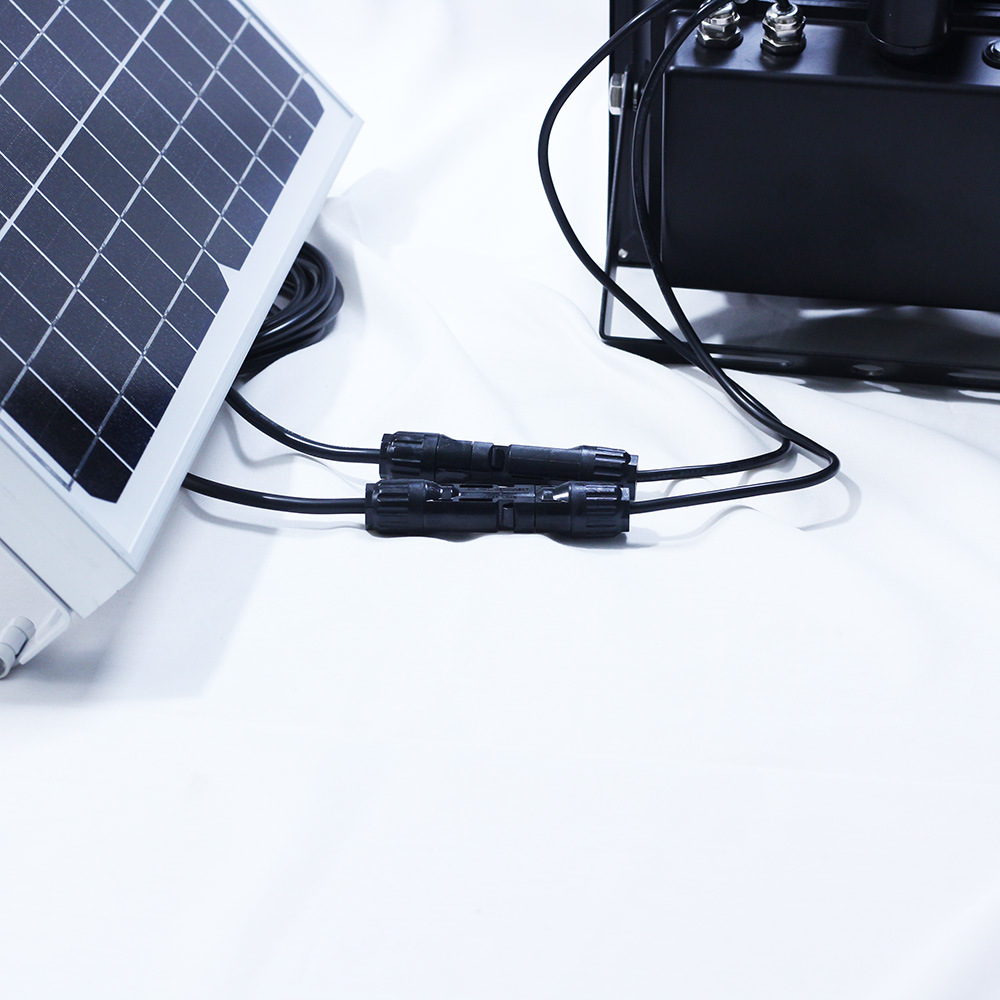

FAQ1.Q: Are you a factory or a trading company?
A: We are a manufacturer. Welcome OEM and ODM for you.
2. Can we have a sample order?
A: Of course! Any sample order is welcome for testing and checking.
3.What is the warranty for the products?
A: Battery:3 years. Controller/LED:5 years. solar panels:15-20 years
4.How to ship the goods?
A: By sea usually. If urgent requirement, air-shipping is available(except:Batteries)
5. How to deal with the fault?
A: If the problem caused by manufacturing quality, we will change and replace it in free.
-
Customer ReviewsNo comments


